Getting Started
This section demonstrates how to quickly integrate the PayCloud payment gateway from scratch.
Step 1: Register as a Merchant
First, contact your sales representative to apply for a PayCloud merchant account. You need to prepare materials related to your merchant/store and your contact information in advance. Once the merchant application is successful, you will receive the following information:
- Merchant Number (merchant_no/mid): A unique identifier for the merchant, which needs to be included in every transaction request.
- Offline Store Number (store_no/sid): The physical location where the merchant conducts offline transactions. This parameter needs to be uploaded when requesting offline payment API.
- Online Store Number (store_no/sid): A unique identifier for the merchant's virtual store on an internet platform. It is used to track online transactions, manage data, and define the scope of business visibility. This parameter needs to be uploaded when requesting online payment API.
- Merchant Platform Login Account: Use this account to log into the merchant platform to manage payment applications and query transactions. The login account and URL will be provided via a registration email or you can contact your sales representative for this information.
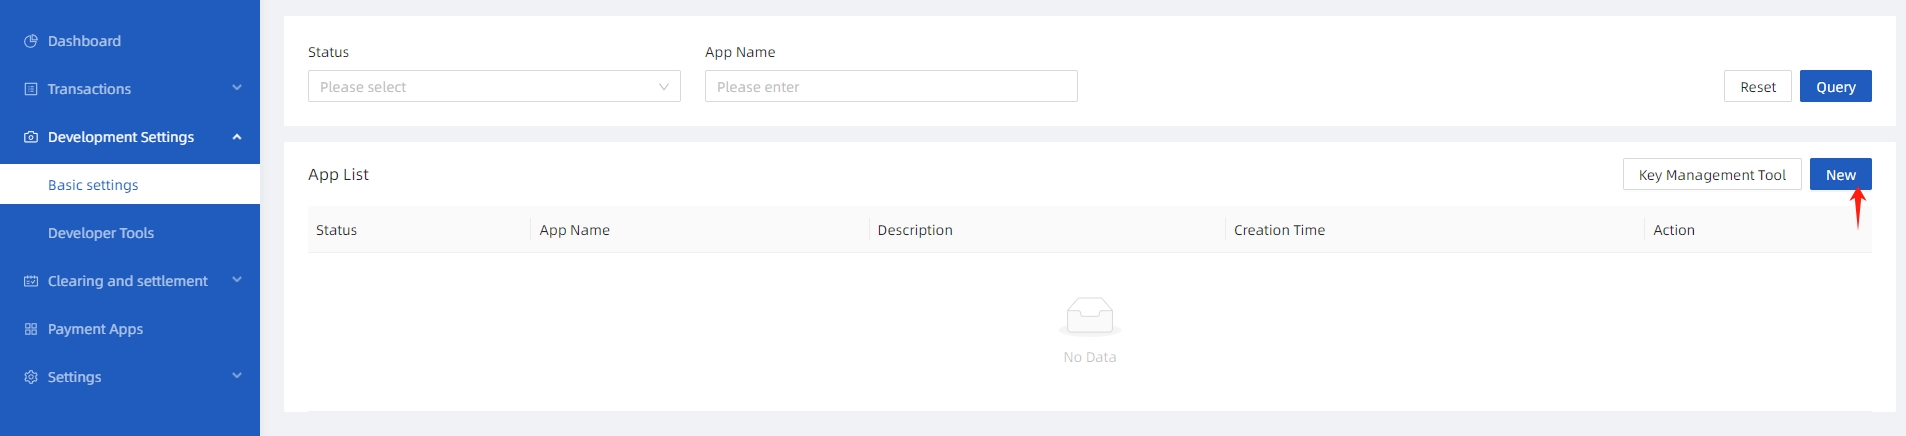
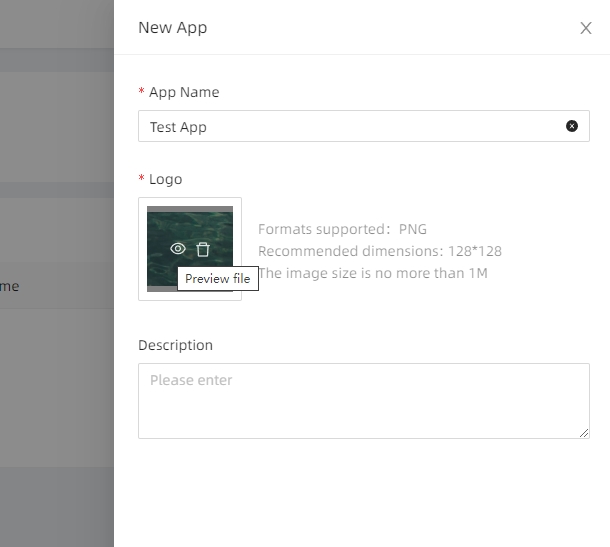
Step 2: Create a Payment Application
Log in to the merchant platform using the account obtained in the previous step, go to "Development Settings > Basic Settings", and create a payment application to obtain an AppID. The AppID must be passed in all API requests.
What is AppID? Why is AppID needed?
AppID is an acronym for Application Identifier, which uniquely identifies a specific application or system integration module. It is typically assigned by the development platform or service provider to ensure that each application has a unique identity in the system, making it easier for authentication, permission management, and data interaction.
A merchant can create multiple payment applications, but if you are a software service provider (ISV) and need to create the same application for multiple merchants, you can contact your payment service support team to create a new application or authorize the merchant to use the application.
Step 3: Configure Application Keys
PayCloud's security policy requires using the RSA asymmetric encryption algorithm to sign data packets, ensuring the authenticity of both parties and the integrity of the data to prevent tampering during communication.
- Regarding the RSA asymmetric encryption mechanism, developers' third-party applications and the PayCloud gateway each generate a set of keys (public and private). Both parties exchange public keys, and each party manages its private key securely.
- Public Key Exchange: Developers can view the PayCloud gateway's public key (gateway_rsa_public_key) through the merchant platform and upload the application’s public key (app_rsa_public_key).
- During communication, the requester signs the request message with their private key, and the receiver verifies the signature using the sender's public key. Similarly, the response process follows the same approach. For information on how to generate keys and perform signing and verification, refer to the document RSA Key Setup, Signing, and Verification.
The specific interface operation process is as follows:
| 1. In the application list, select "Public Key Management" in the newly created application row | 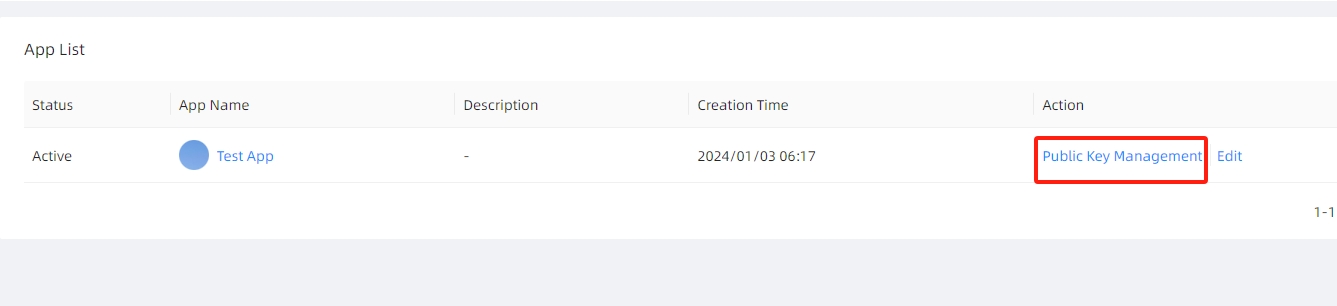 |
| 2. Enter the key configuration interface, copy and paste the application’s public key, then click OK to save | 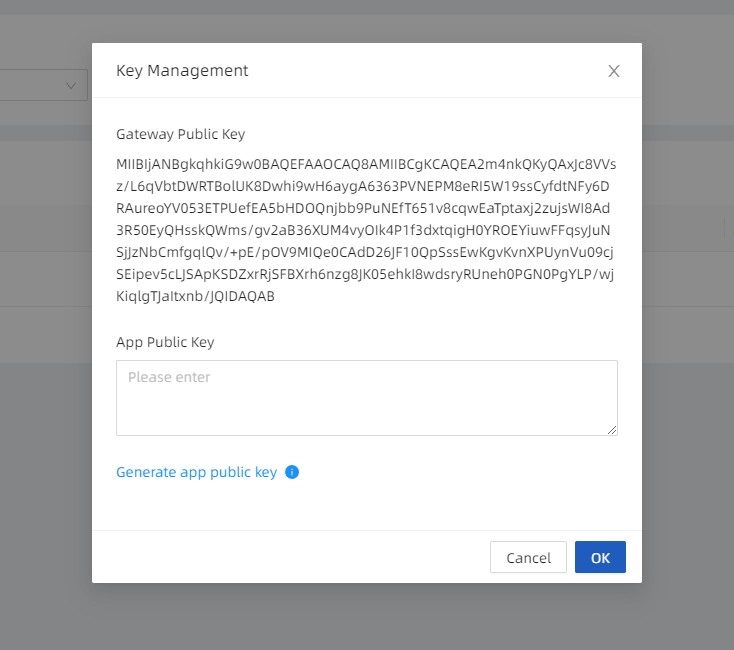 |
Step 4: Select the Appropriate Payment Product
Choose the appropriate payment product based on your business scenario.
Our payment products strictly distinguish between online and offline businesses. Please choose the correct payment product, otherwise the transaction cannot be completed successfully. Pay attention to the store_no parameter; offline stores can only be used with offline payment products and API, and online stores can only be used with online payment products and API.
| Features | In-store Payment | Online Payment |
|---|---|---|
| Transaction Scenario | Face-to-face transactions, typically occurring at physical stores or service locations | Transactions completed via websites, apps, mini-programs, or other internet platforms |
| Payment Methods | POS card payments, static/dynamic QR code payments, NFC payments | Web payments, app payments, mini-program payments, H5 payments |
| Customer Interaction | Customers need to be physically present at the store or service location to make payments | Customers can complete payments remotely without visiting the store |
| Logistics or Delivery | On-site delivery of goods or services | Typically involves logistics delivery or digital delivery of virtual goods |
| Applicable Business | Restaurants, retail, beauty services, etc. | E-commerce, online courses, subscription services, etc. |
| Available Payment Products | - QR Code Payment - Mobile Web Payment | - PC Web Payment - Mobile Web Payment - In-App Payment - Mini Program Payment |
| Special Notes | WeChat Pay and Alipay mobile web payments can only be opened from the app, not in the browser; WeChat official account payment applies to this scenario | WeChat Pay and Alipay mobile web payments can only be opened in the browser or by scanning the QR code; WeChat Pay defines this scenario as H5 payment, which requires separate activation |
| Parameter Requirements | Only offline store numbers (store_no/sid) can be used | Only online store numbers (store_no/sid) can be used |
| Online-Offline Mixed | In real business, scenarios may exist where online and In-store business are not strictly differentiated, such as: 1. Displaying QR codes(QR Payment-MPM) on a PC webpage during a PC web payment, converting In-store to online; 2. Jumping from the browser to Alipay to trigger In-store mobile web payment to complete online transactions | |
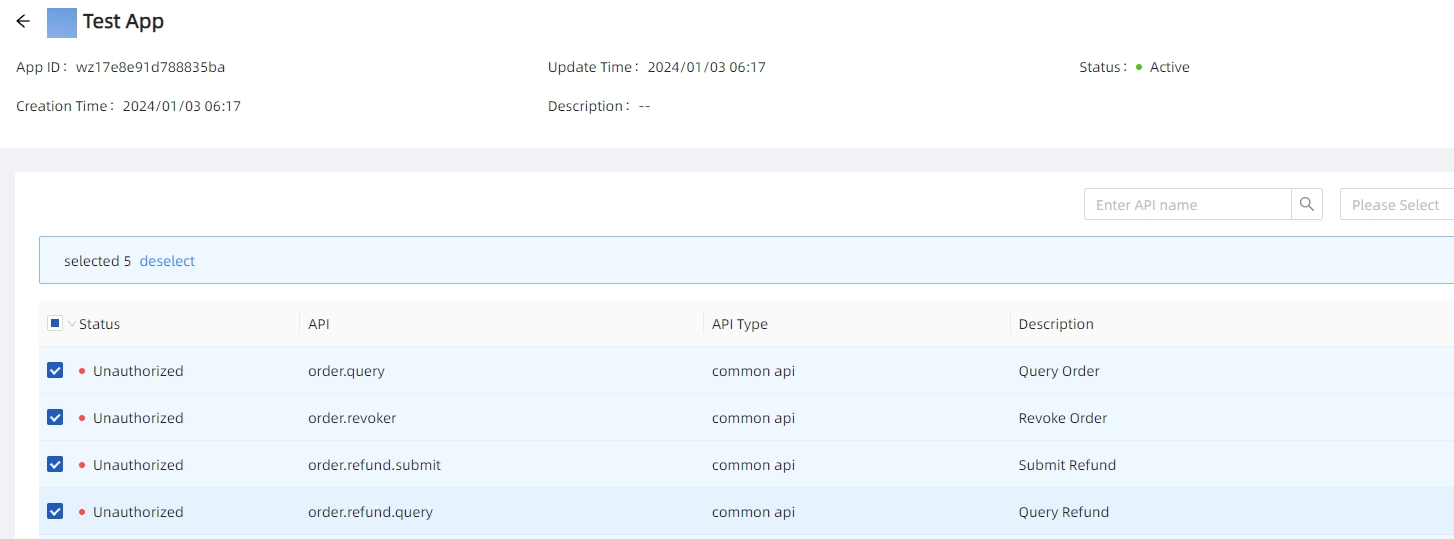
Step 5: API Authorization
In the application management interface, select the corresponding API for authorization.
Step 6: Write Code and Perform Integration Testing
Next, you can write application code according to the API documentation and configure parameters for debugging:
You can also choose to use the SDK for quick integration (Download SDK or sample):
- Currently, SDK supports only Java, but we provide API call examples in common languages (e.g., PHP, C#).
- We also offer Postman debugging tools, key generation tools, and signature verification tools, available for download from GitHub.
We recommend developers use the SDK integration method as it wraps the API request signing and response verification logic, simplifying system integration.
If you encounter any issues, please contact the technical support team and provide your order number (merchant_order_no) or the psn from the response message to help us quickly identify the cause of the problem.
Step 7: Go Live, Monitor, and Commercialize
- Ensure successful testing and switch to the production environment, confirming that payment permissions are activated.
- Monitor transaction data in real-time, set up logging and exception handling mechanisms to ensure system stability.
- Perform regular reconciliation and settlement, optimize payment processes, and expand payment features to meet business growth.
- Regularly update keys, upgrade API versions, and analyze transaction data to optimize user experience.